How To Prepare Furniture For Restoration
Before a project enters our Olympia workshop, simple preparation ensures an accurate evaluation and protects delicate surfaces. From taking true dimensions to avoiding fatal pre-sanding mistakes, here is how to prepare your piece.
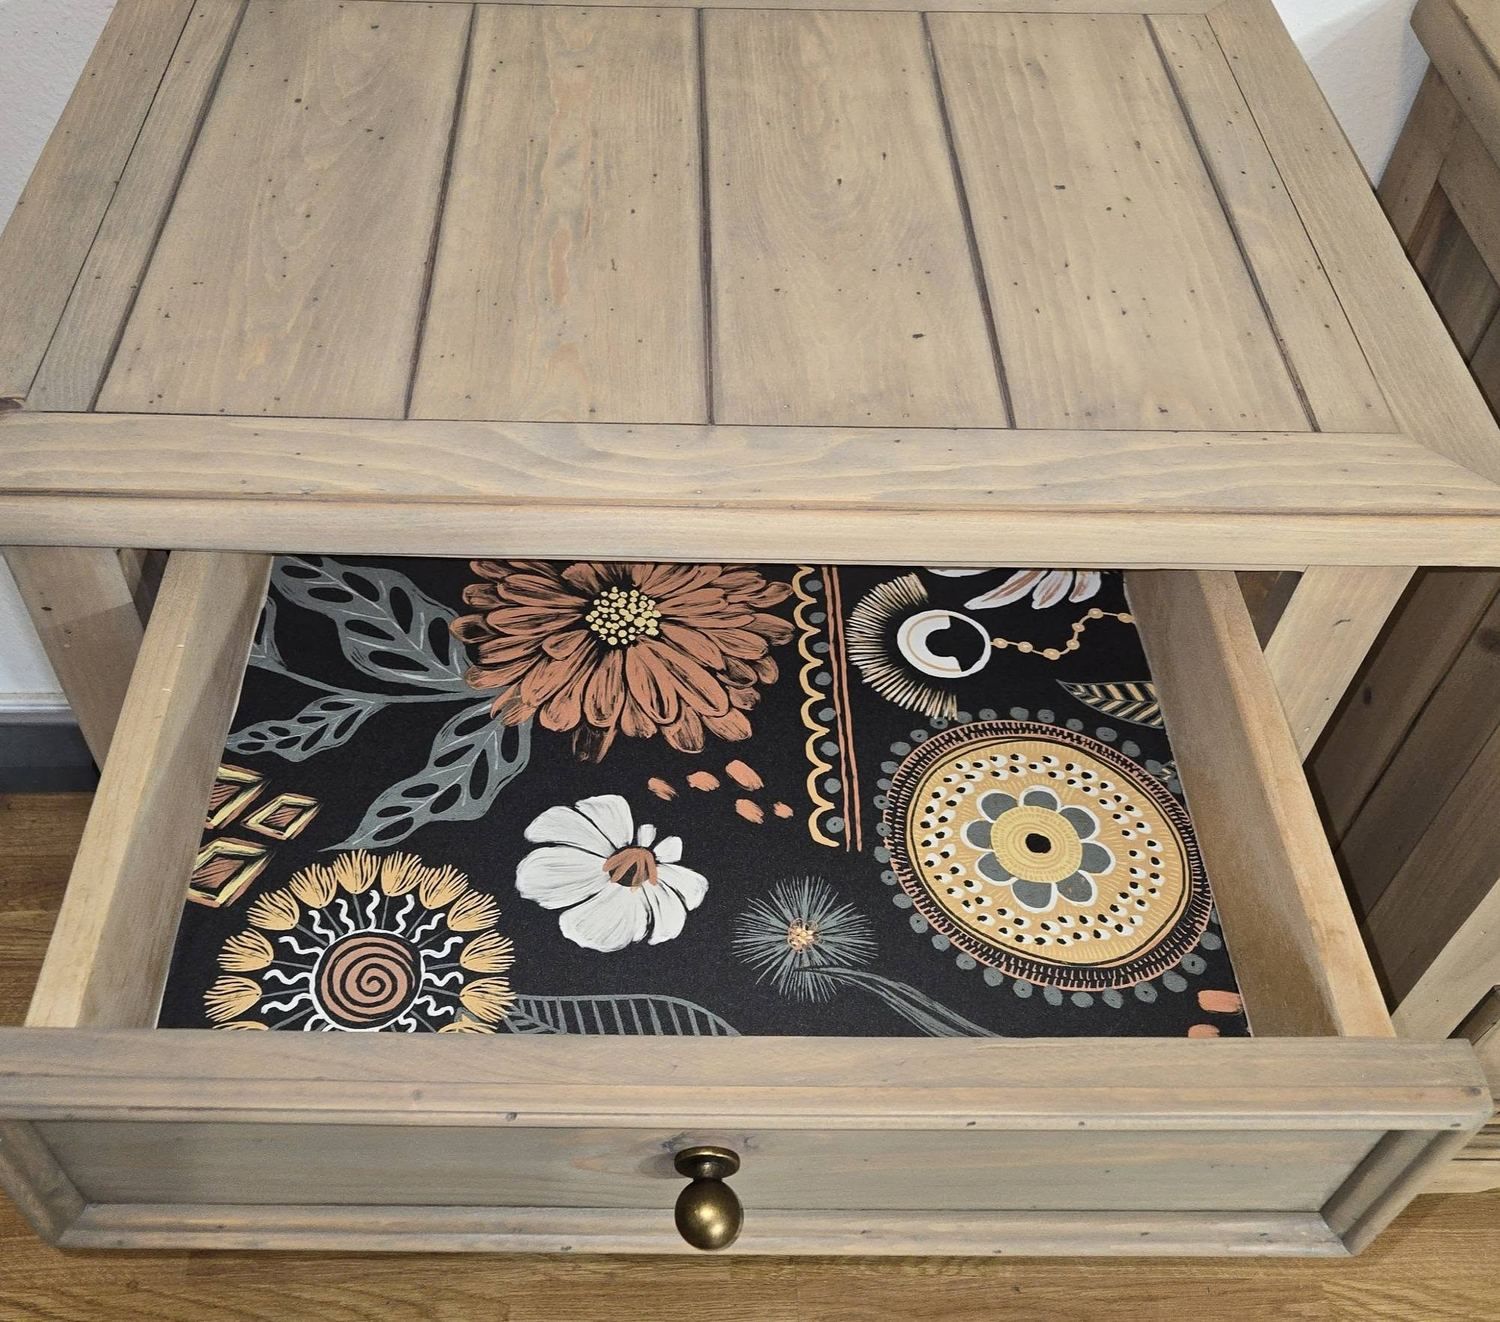
The 4-Step Pre-Restoration Checklist
Remove all personal items and dust with a soft, dry microfiber cloth. Avoid silicone sprays (Pledge) or aggressive chemical degreasers that contaminate wood pores.
Record Width, Depth, and Height at widest points (overhanging top moldings). This confirms workshop bench space, vehicle clearance, and finish square footage.
Leave pulls attached for the initial photo review. If preparing for drop-off, place all original screws and handles into a labeled zip bag—antique threads are rarely standard.
Never attempt orbital or belt sanding before professional review. Amateur sanding frequently burns through vintage decorative veneer and rounds crisp architectural profiles.
1. Cleaning: Remove Debris Without Chemical Contamination
When preparing furniture for restoration review, thorough dusting is all that is required. Resist the urge to use commercial aerosol furniture polish (such as Pledge or Endust). These products contain silicone oils that penetrate deep into microscopic wood pores.
Silicone is notoriously difficult to strip and causes severe surface defects called "fisheyes"—cratering where new lacquer, polyurethane, or enamel cannot bond to the timber. If greasy residue or grime is present, simply wipe lightly with a lint-free cotton cloth dampened with warm water and a single drop of mild dish detergent, followed immediately by a dry towel.
2. Why You Must Never Pre-Sand Your Piece
The single most destructive mistake homeowners make before contacting a restoration studio is attempting to "help" by sanding down the top surface with a handheld orbital sander. Most fine American furniture from 1900 to 1960 utilizes figured bookmatched hardwood veneer (such as walnut burl or quartersawn white oak) measuring just 1/16" to 1/28" thick.
An aggressive power sander with coarse sandpaper can burn through that paper-thin decorative layer in fewer than 10 seconds, exposing the pale secondary poplar or composite lumber core underneath. Once veneer is sanded through, re-staining is impossible without extensive faux grain painting. In our workshop, we dissolve old failing finishes chemically using gentle hand-applied solvents that preserve every micrometer of original timber.
3. Managing Antique Hardware and Fasteners
Antique drawer pulls, bail handles, and stamped brass backplates are central to your piece's character. Often, antique screw threads use obsolete imperial pitch standards that cannot be replaced at a modern hardware store. When preparing for project intake:
- Leave the hardware installed when taking your review photos so we can evaluate the mounting holes and style.
- If you remove the hardware before transport, keep each drawer's screws with its corresponding pull in a zip-top bag.
- Do not attempt to scrape or wire-brush tarnished brass; we use gentle chemical brass baths that clean away grime while preserving deep antique patina.